
I made a racing sim.

It’s awesome.
There are 4 main components to building a racing sim. The base, the seat, the driving gear, and the computer. The computer is a beast, which you can safely assume from the VR headset in the seat. I built it from mostly MSI parts.
The driving gear is all Fanatec. I’ve got ClubSport pedals and Porsche GT2 driving wheel. Paddle shifters on the wheel. It’s all discontinued now, for shame, for shame. It has some quirks, but I found a way to update the driver so the wheel won’t keep forgetting to connect to the computer. What a pain. But essentially, I bought it and plugged it in. Fun, but not a whole lot of construction involved. Let’s get to the fun stuff.
Racing seat.
Through a series of semi-random events, I had a couple of Porsche 996 911 seats lying around in my garage. See, what had happened was that my Boxster seats were terrible. The original light grey leather was dry, brittle, cracked, split, “repaired” with duct tape, and missing large chunks of bolster foam. The driver’s seat was bad too. So I shopped around for new leather seat covers and finally settled on a new set of skins from LeatherSeats.com at $995, plus a couple bucks for red double stitching, plus a couple bucks for the Porsche crest stitched in the headrest. Right before I placed the order, my buddy Rick pointed me to a Miata forum where the photographer for my track day run group was selling a pair of very decent 911 seats for $800. So, I was faced with the decision of adding automotive upholstery to my list of skills that I’m not very good at but have done once or twice anyway, or spend less money to spin 8 bolts and have my car’s seats updated in 30 minutes. Decisions, decisions. So that’s how I came to have a couple extra Porsche seats.
The old seats were out. Leather was still absolute trash, so I called around to my leather shops again and asked if they have any returns, demos, seconds, or single seaters. I was asking for something that they wouldn’t be proud of in a customer’s vehicle, but would be just fine for a racing sim. One of the best shops returned my plea and said that he in fact had a pair of black leather skins that a customer had botched that he would let me have for a sandwich and a song, then he over-charged me for all of the bits and bobs that need to be sewn on to get the leather to stay on the seat, which I thought was perfectly reasonable. Now I have added automotive upholstery to my list of skills that I’m not very good at but have done once or twice anyway.
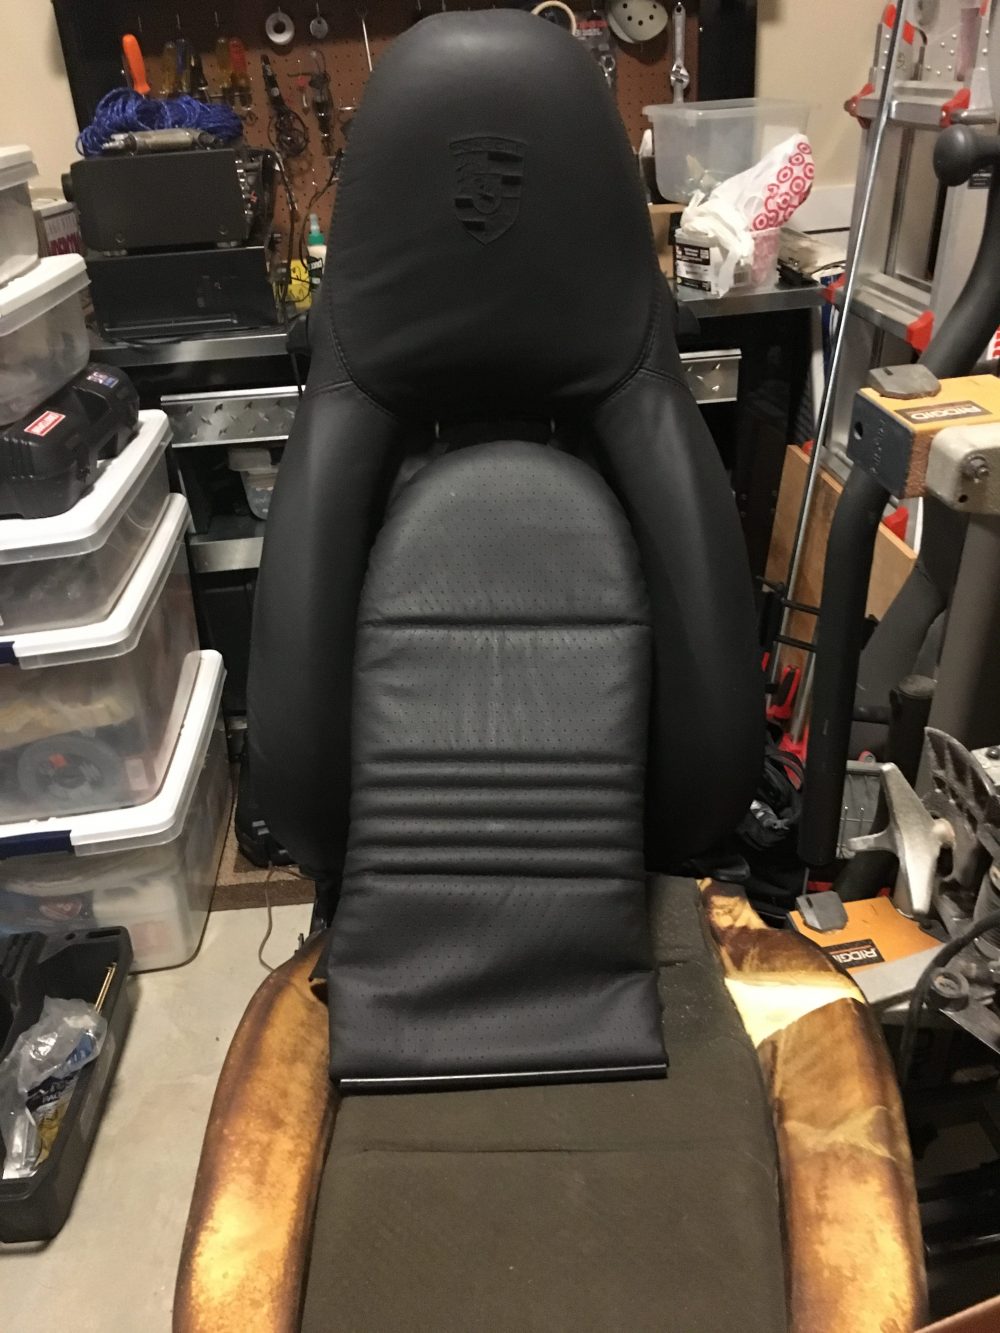
The seats are electronically controlled. The easy thing to do is to is to buy a Porsche seat computer and plug it up. They’re $600, used. No sir. Normal people might put in manual rails. I, on the other hand, rewired the switches.
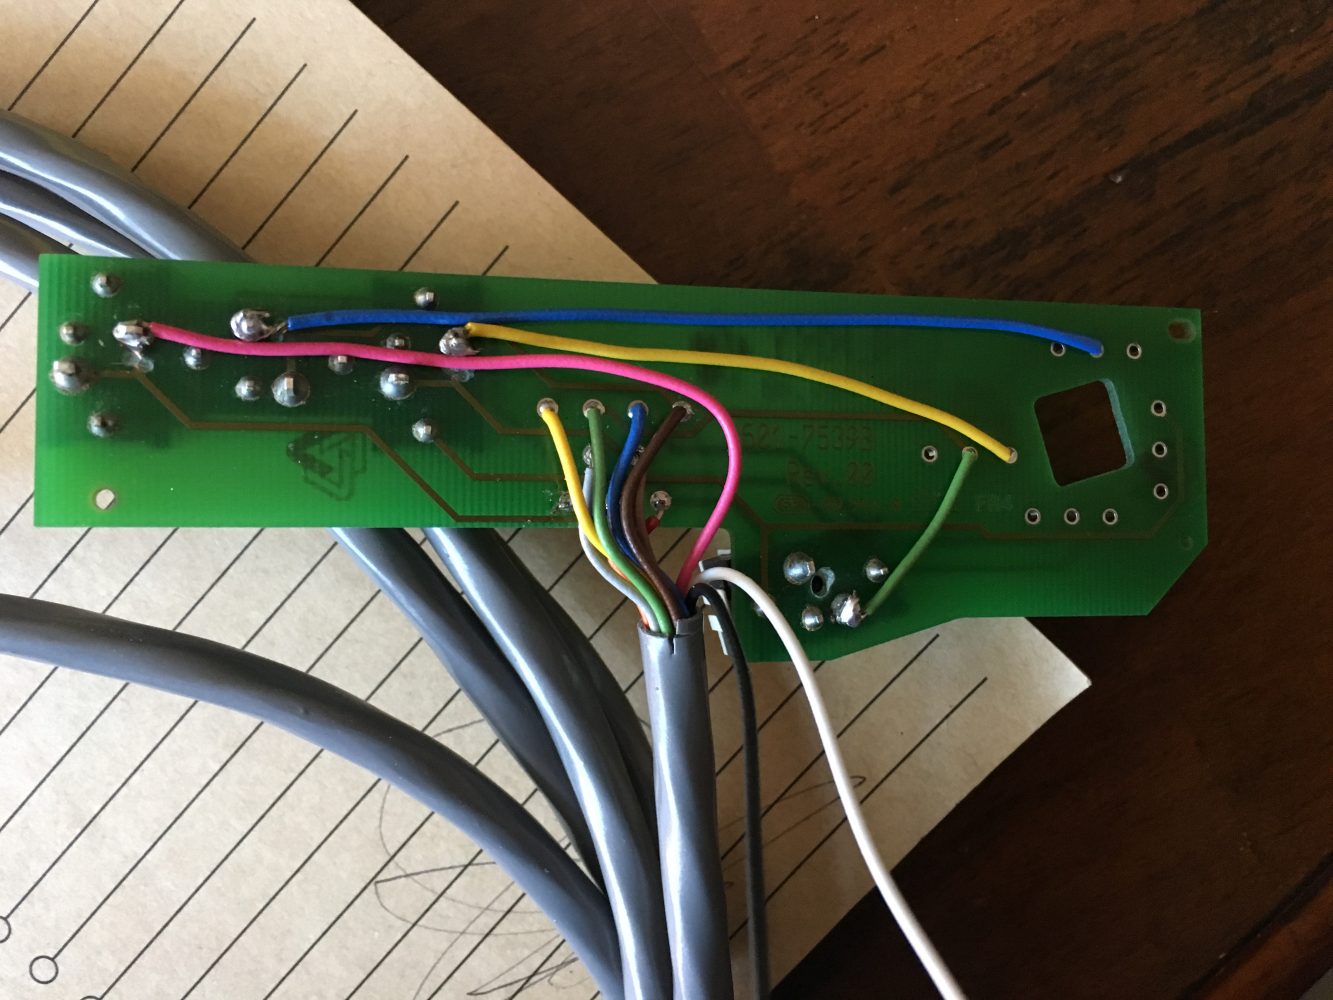
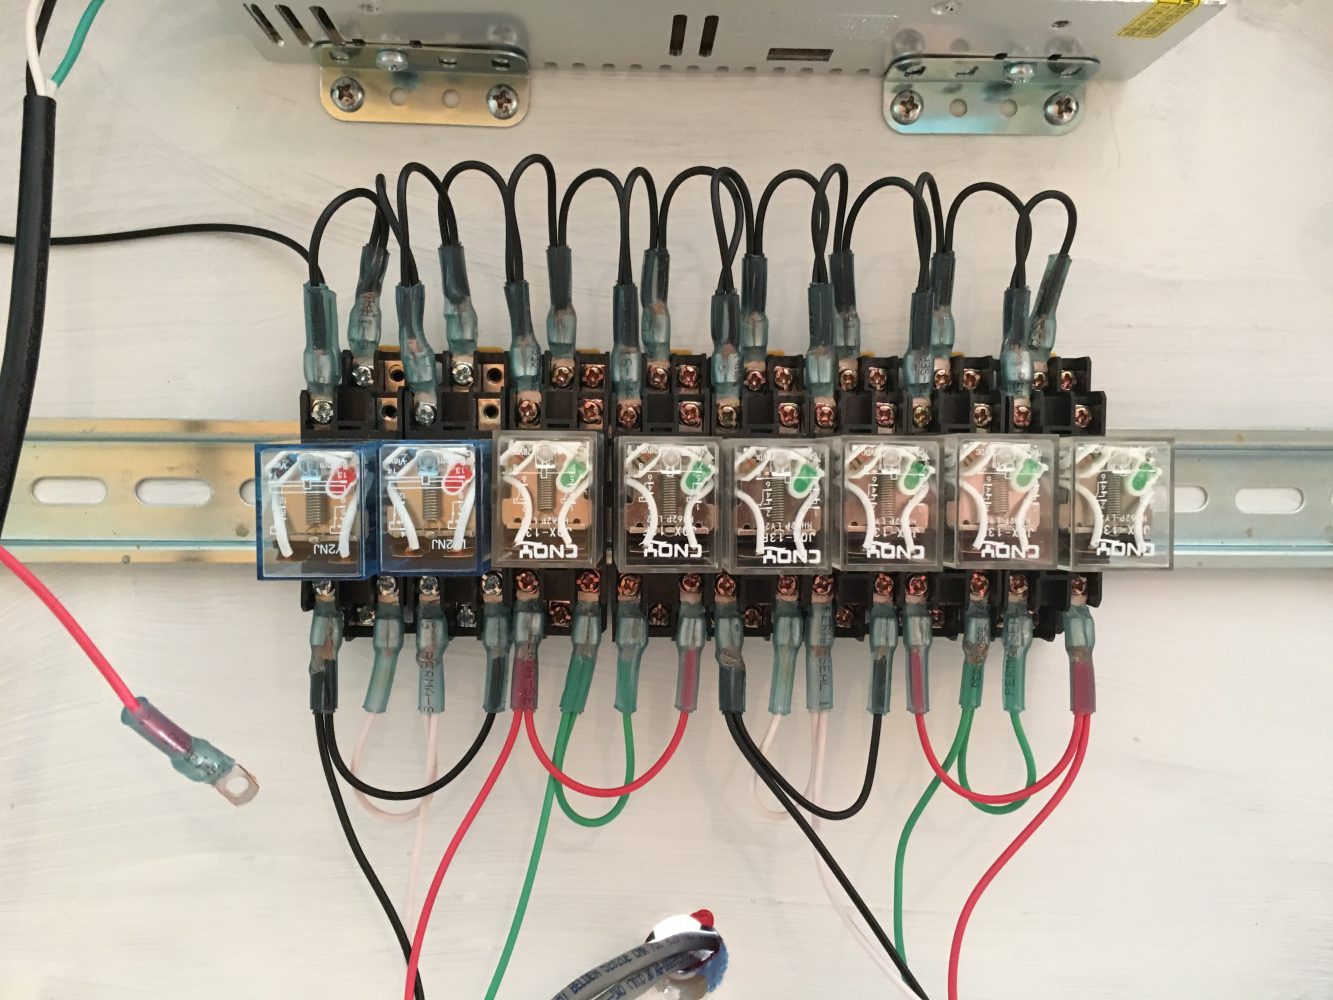
Porsche invented some voodoo in their seat wiring for no reason that I can discern other than to make it nearly impossible for people to re-wire their seats to put into a racing sim. There are 8 functions in the switch (seat forward, seat back, seat up, seat down, tilt forward, tilt back, backrest forward, backrest back) that Porsche controlled with 6 wires. Good on you Porsche. Add lightness. But I wanted my analog switches analog, so I had to cut traces and rewire. Notice that hole in bottom of the circuit board near my green wire? I had to cut a trace under a switch by assuming where the trace was and drilling through from the other side. It worked. I then tapped into all of the motors and made a relay bank. From what I have discovered on the Porsche forums, I think I’m the first person to get this working. I am a very stable genius.
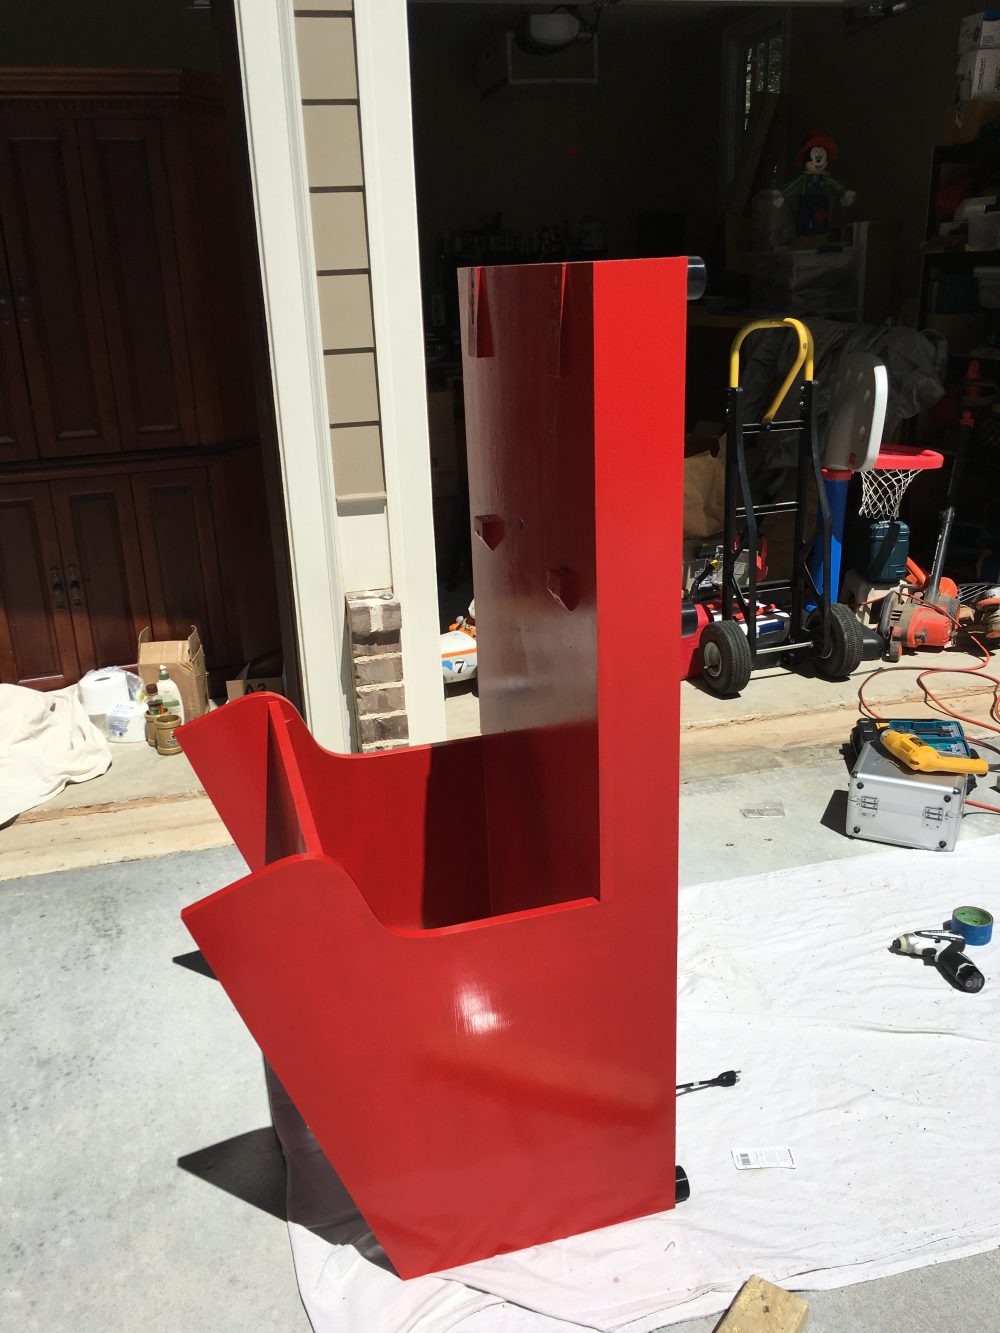
Box.
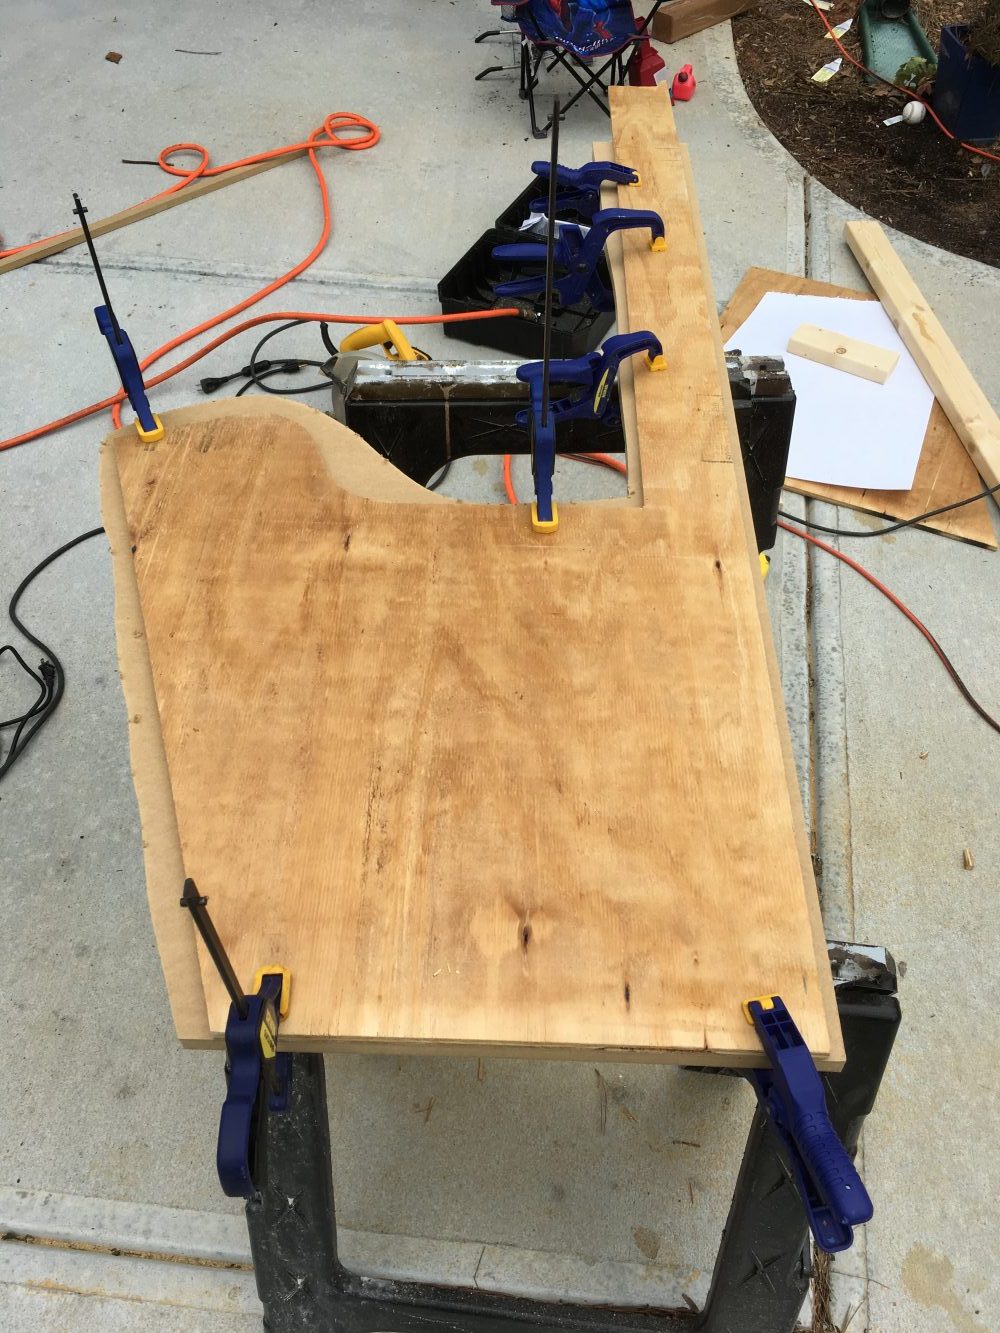
A racing seat doesn’t do a whole lotta good without a place to mount it, so I built a box out of MDF.
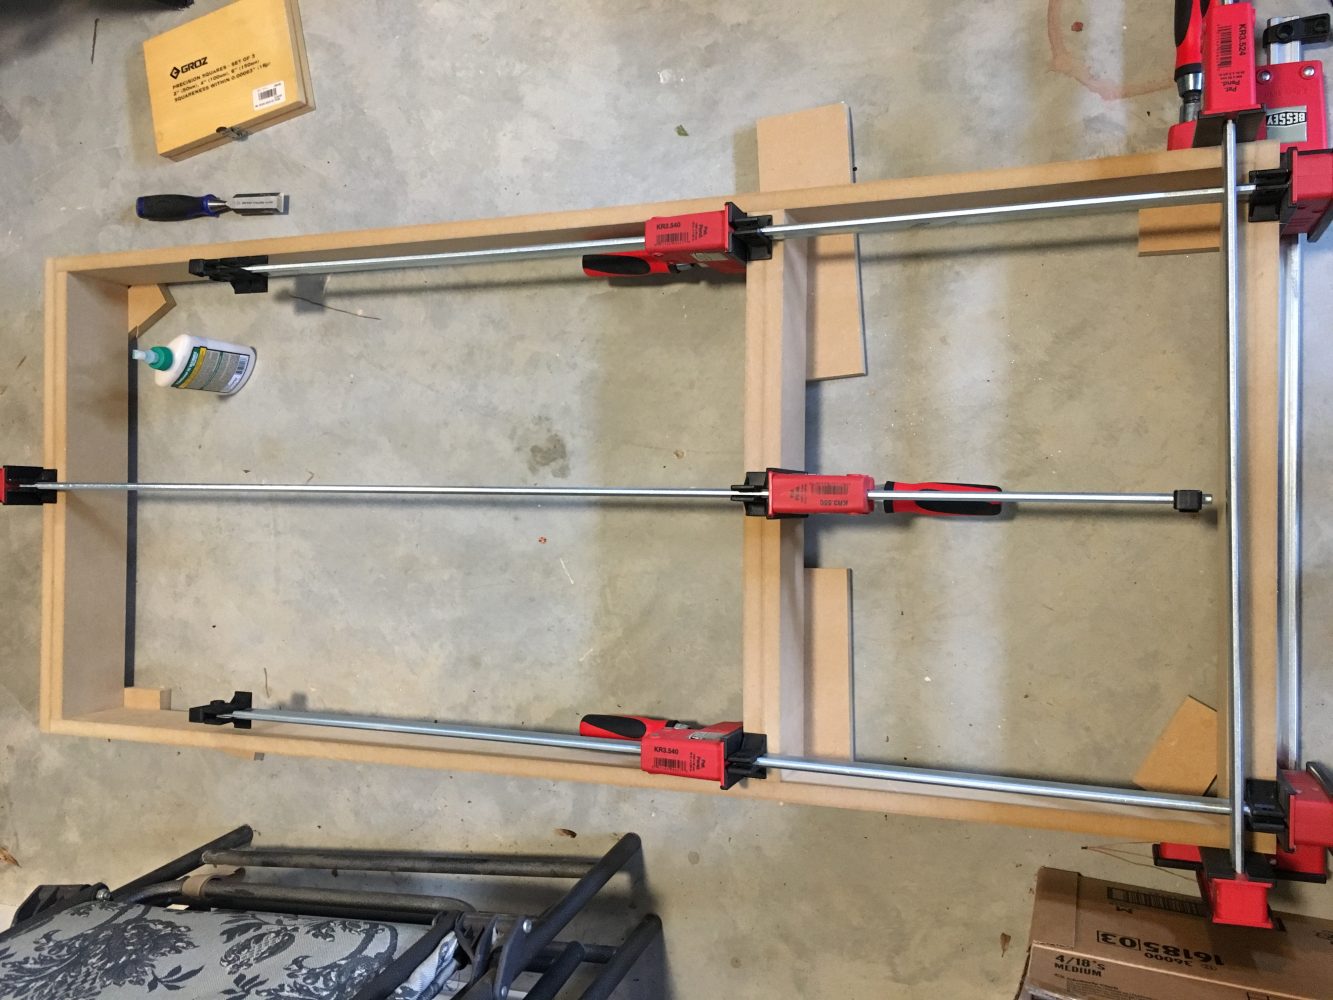
I designed this all in CAD and printed out a full scale template for the side pieces. So, that’s where I started. All the weight-supporting MDF is doubled up. You’ll see that the long runners only have one piece of MDF, and that’s because the side pieces glue to those bases.
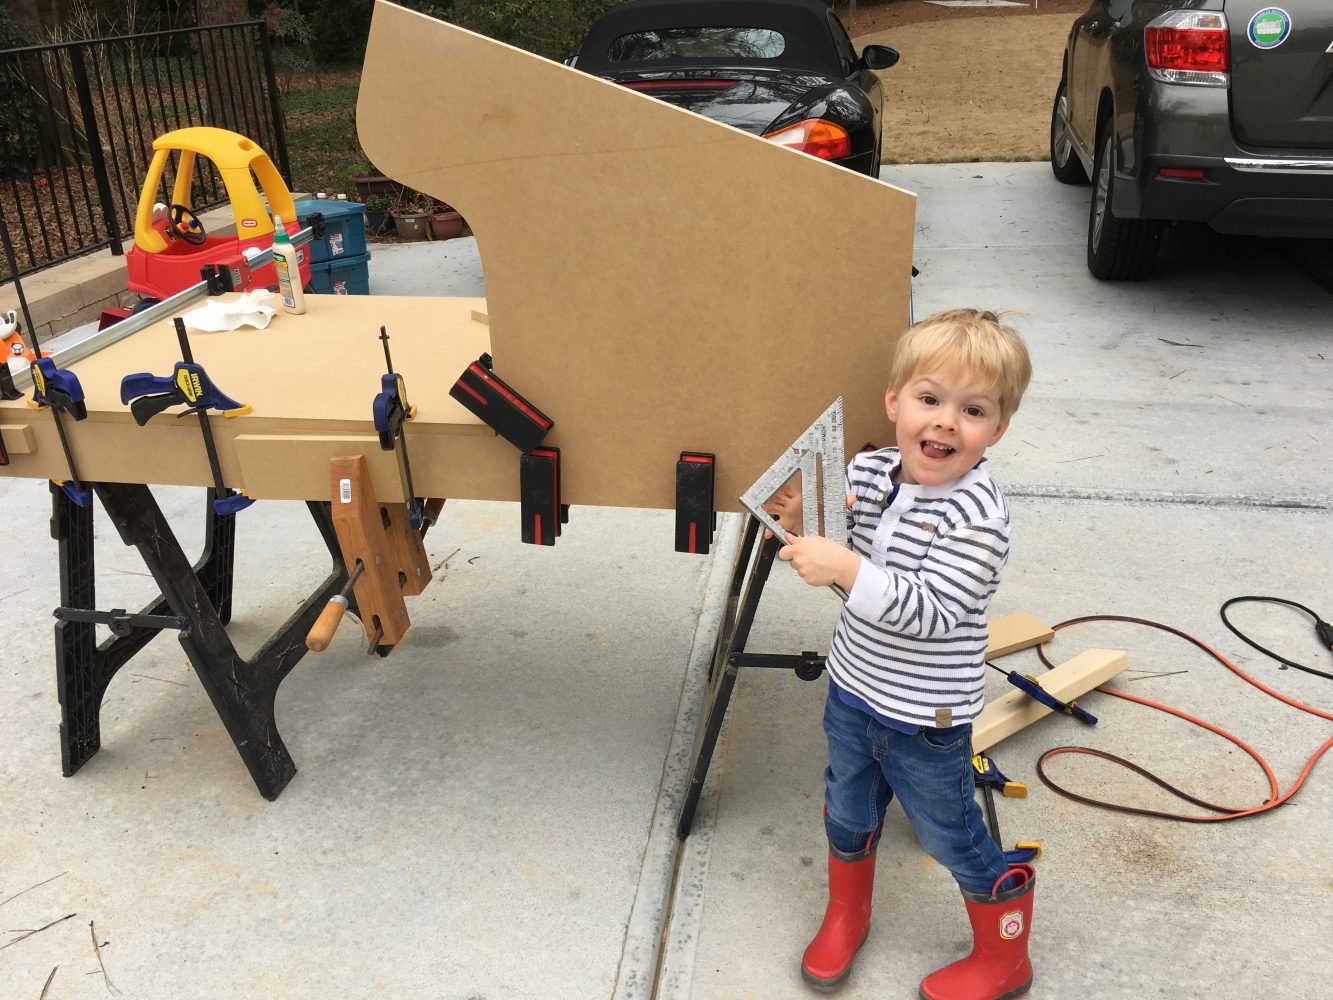
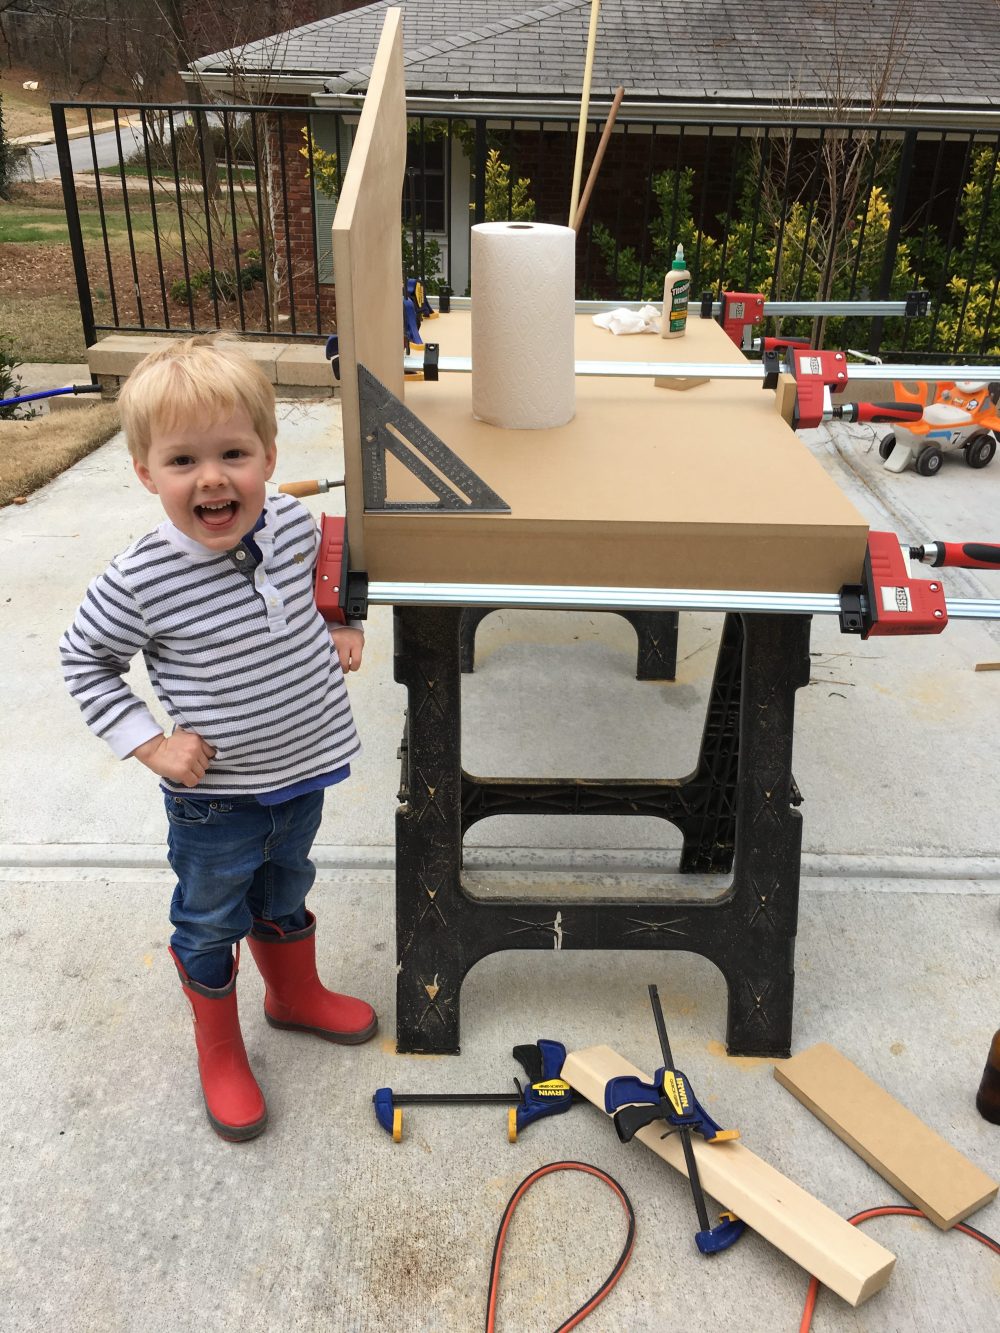
This thing gets heavy quickly, so it’s best to have a helper.
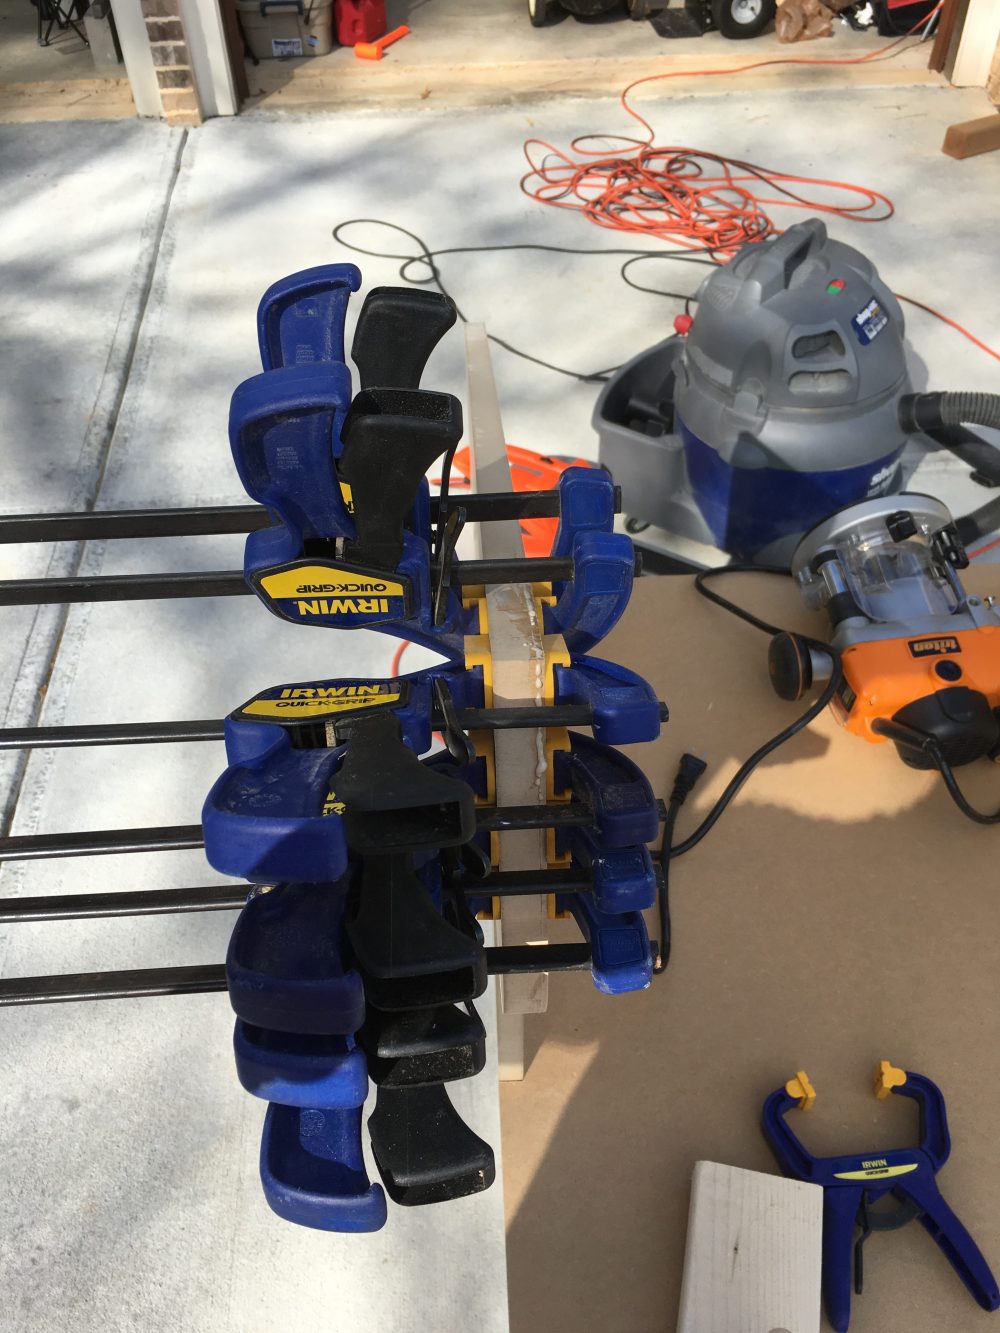
I ran into a small issue where the MDF that I bought started to delaminate. I’ve never even heard of this with MDF. They, uh, forgot glue in their glue-and-sawdust manufacturing process. Oh well guys. I’ve got some glue.
I finished the glue up, painted it baby blue for a Gulf Livery setup, Sarah hated it, so I painted it Porsche red.
After that, I flipped it over and installed the gear. It’s better explained with a picture, so fast forward a couple steps and bribe a neighbor with beer, and I got the sim upstairs. All of the seat electronics are under the seat part of the seat, so it’s off in this picture.
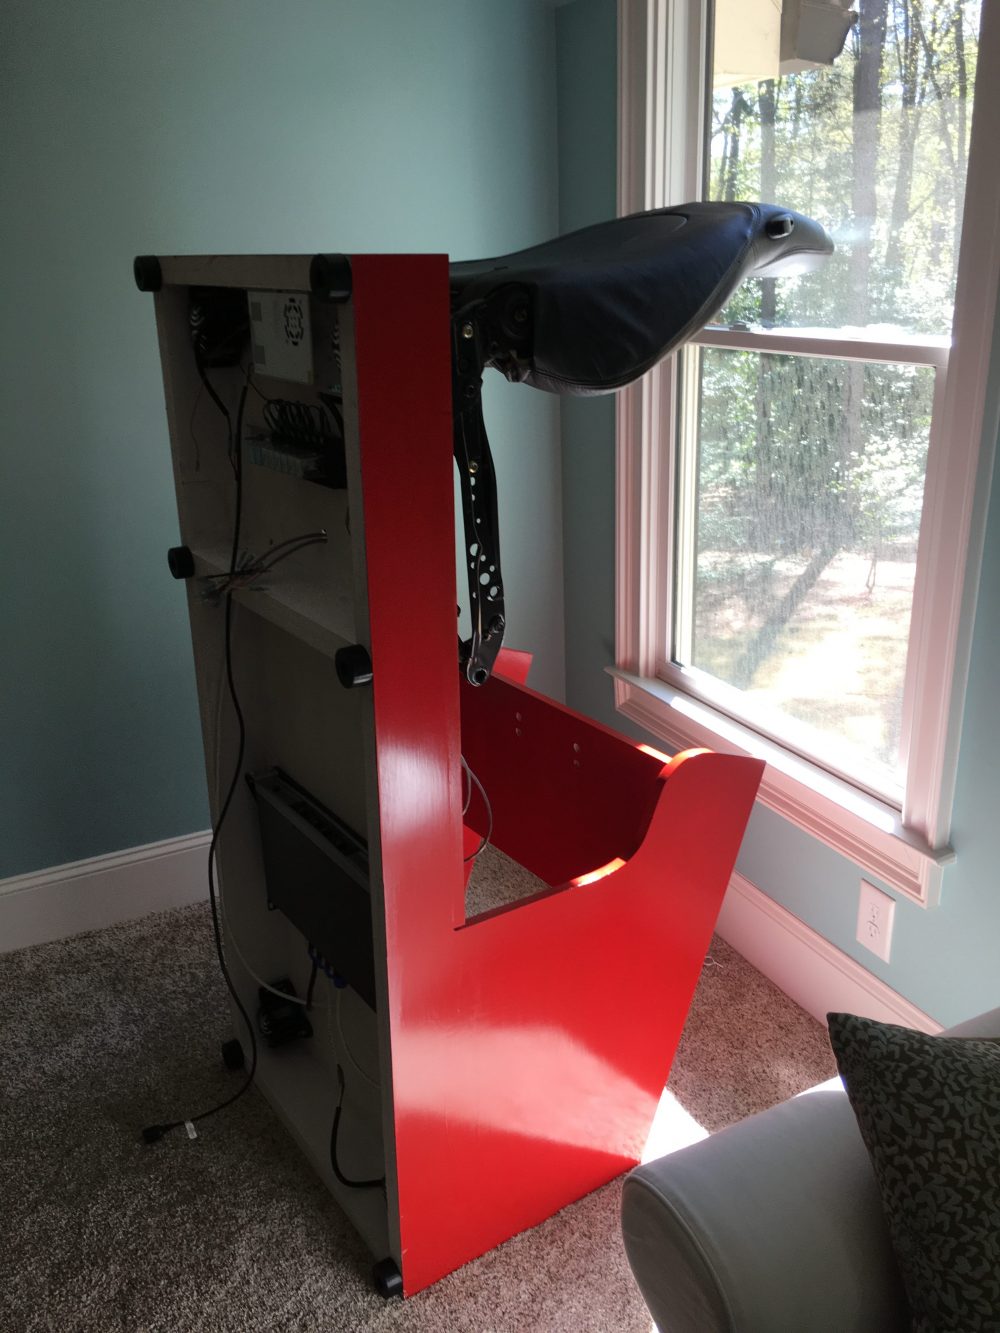
From top to bottom, the first metal box is my 12V supply for my seat. Directly under that is the relay bank for my seat, and you can see the seat wires poking out of the hole right under that. The big amplifier-looking thing in the middle of the sim is an amplifier. It powers Butt Shakers in each corner so that you can feel the road when you go over some gators or smash into a wall.
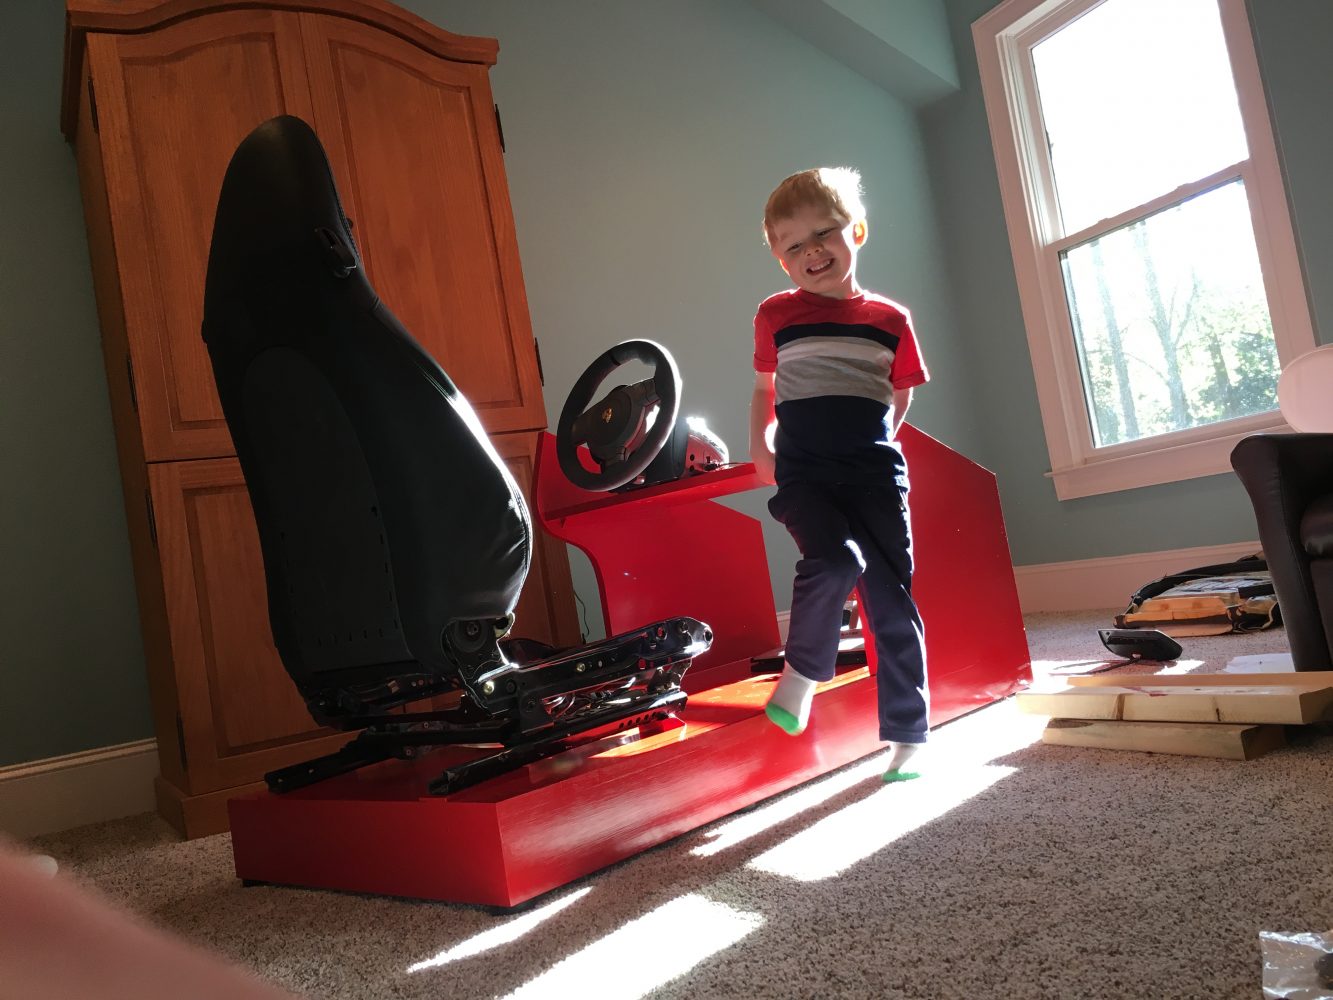
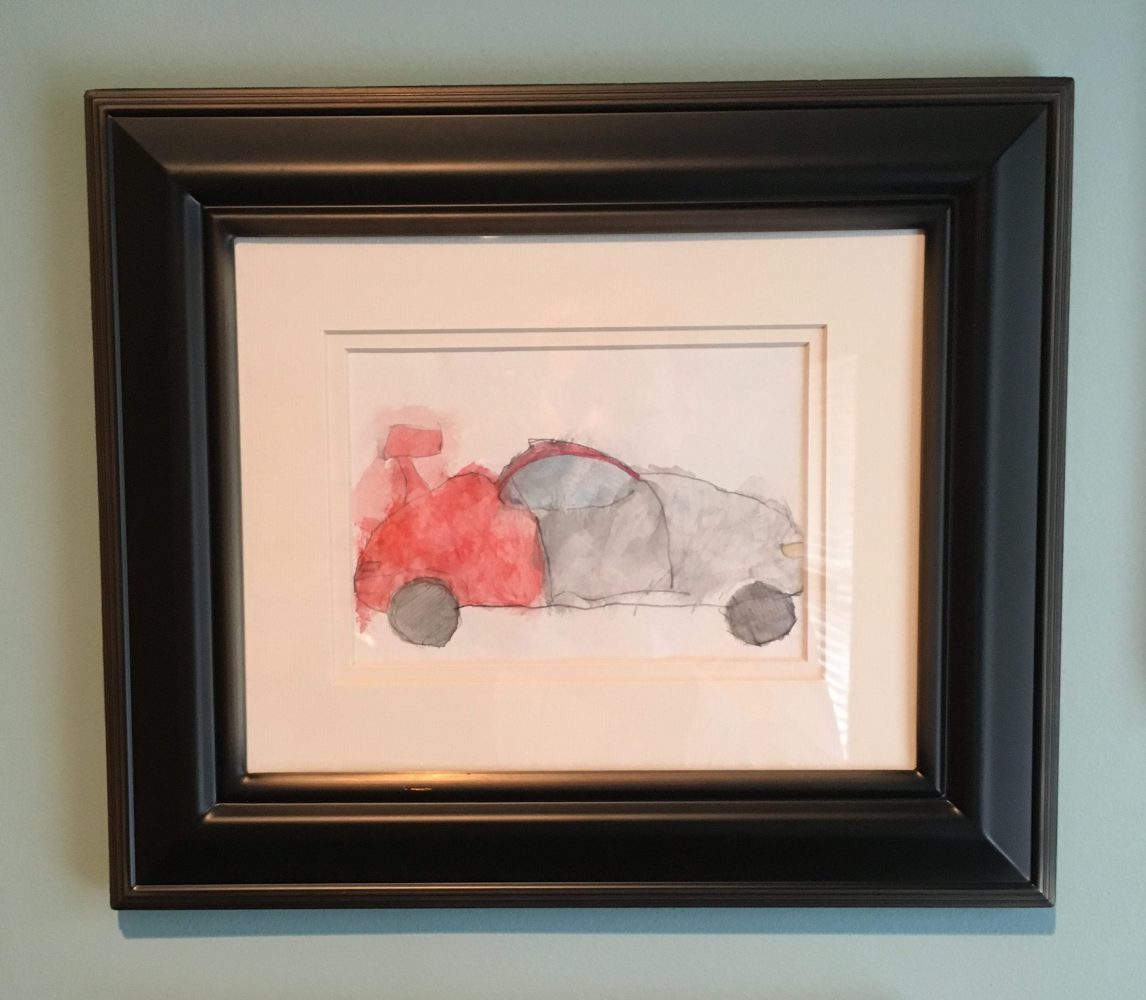
After that, plug and chug! I finished the wiring top side, installed the seat, mounted some pictures on the wall, and ended up with the lede picture. Charlie and Mommy surprised me with the photo wall!
I’ve destroyed many dozens of Miatas at Road Atlanta on iRacing. I’ve wrecked a couple million dollars worth of 911 GT3’s on the Nordschleife. I’m probably going to wreck some more tonight. Maybe someday, somewhere, sometime, I’ll turn a clean lap.
Josh
That race car is so damn cool